Install / Usage
Install
NOTE: Regardless of the installation method, you need to mount yock to the local environment after downloading. After extracting the package, go to the directory of the executable and run yock run install.lua to complete the process.
Note
Using third package manager has the problem of version lag, and even though package will be uncompressed with automatical, it's still required to execute install.lua by hand, and therefore it's highly recommended to download by binary way.
https://github.com/Ansurfen/yock/releases
npm i @ansurfen/yock -g
pip install yock
git clone https://github.com/Ansurfen/yock.git

cd ctl

./build.bat/sh // normal build
./build.bat/sh ffi //build with libffi (gcc or mingw required)
./build.bat/sh dev //build developer version
./build.bat/sh oslinux //cross compile to linux

// automatically build with libffi version when the last step was finished
yock run install.lua
yock run ../auto/build-ffi.lua
Enviroment
Tips
The main goal of this step is to write code more efficiently, so it's optional.
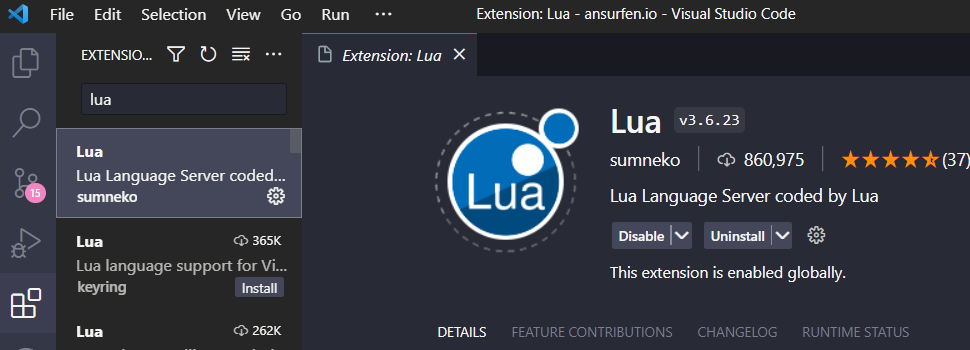
And yock don't directly provides official plugins, but use thrid party lua's plugin to get it. Therefore, the following plugins are only recommended.
For VSCode:
For Jetbrain products (such as IDEA, goland, and etc):
Usage
When yock run install.lua is executed successfully, you can create a working directory to write and test yock scripts. Run ypm tidy to complete the code definition, and it will create an include directory in the working directory with source files for plugin prompts only.
-- main.lua
print("Hello World")
fmt.Printf("Hello %s!\n", "Yock")
Create a main.lua file and write down the above. Use yock run main.lua execution. If all goes well, you'll see the output in the terminal. At this point, Yock's development environment is configured. The next chapter begins with an introduction to the specific use of yock.